Table of Content miTT PWA FIRE PUSH Documentation
- Push Notifications
- Supported Extensions
- Topic Messaging Channel
- Subscribe / Unsubscribe Buttons
- Icons
- Firebase Settings
Push Notification
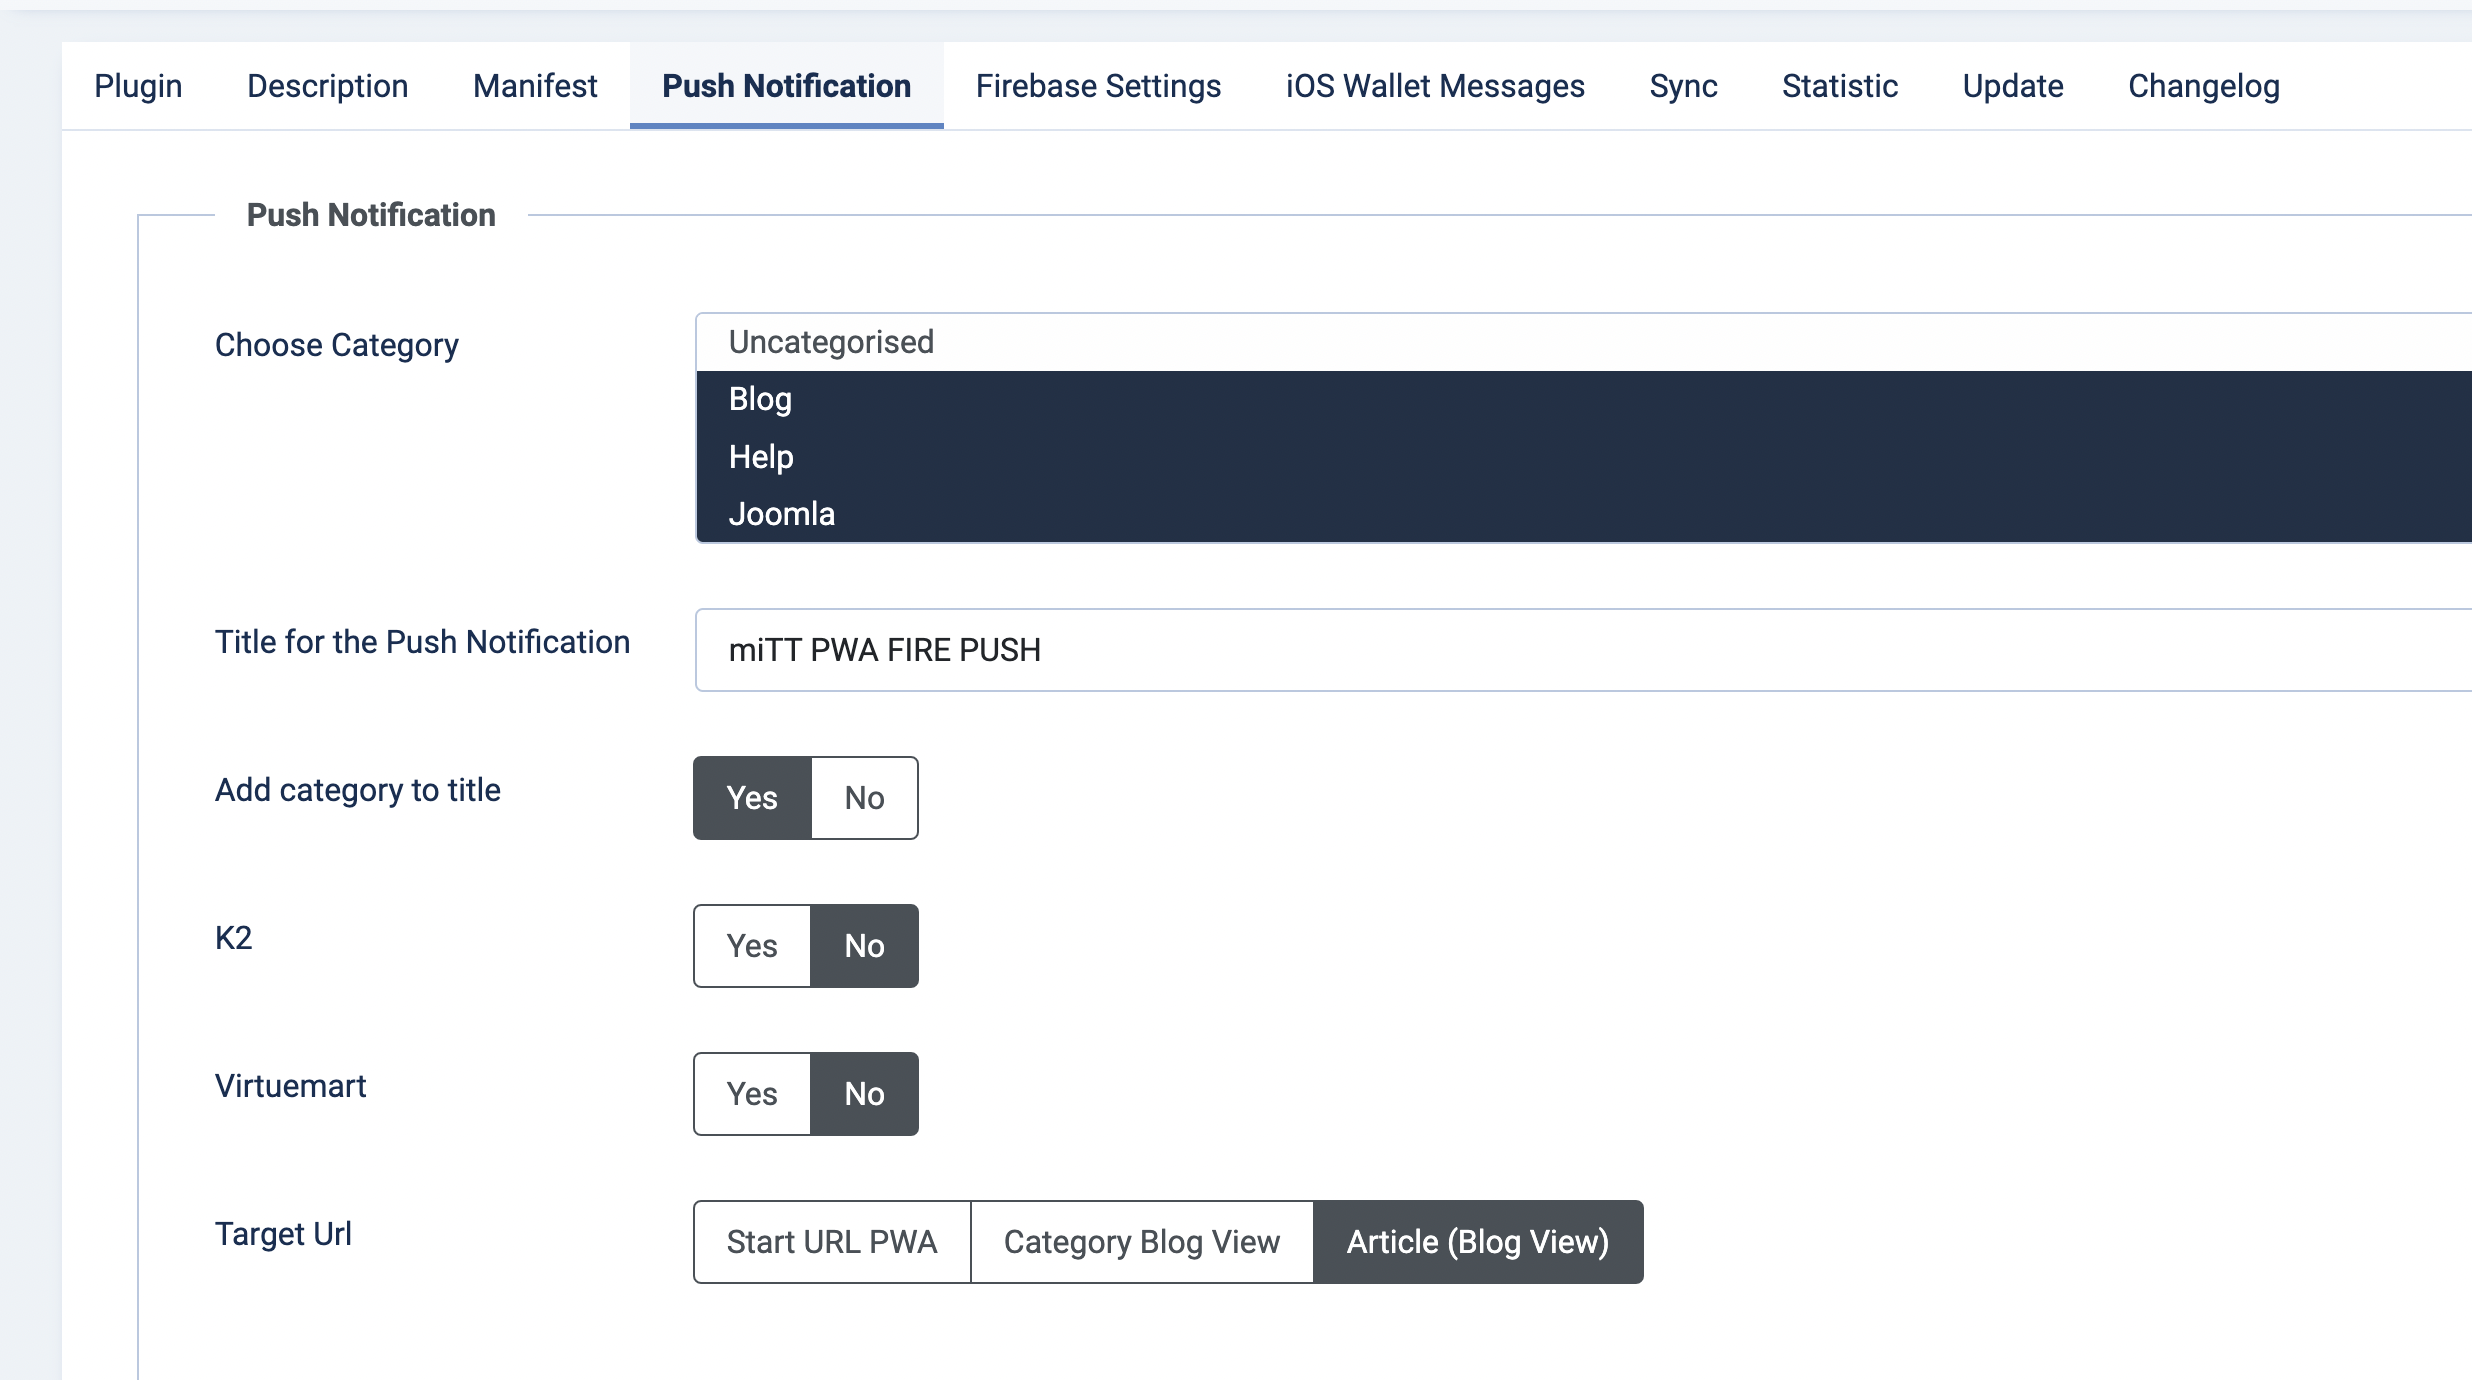
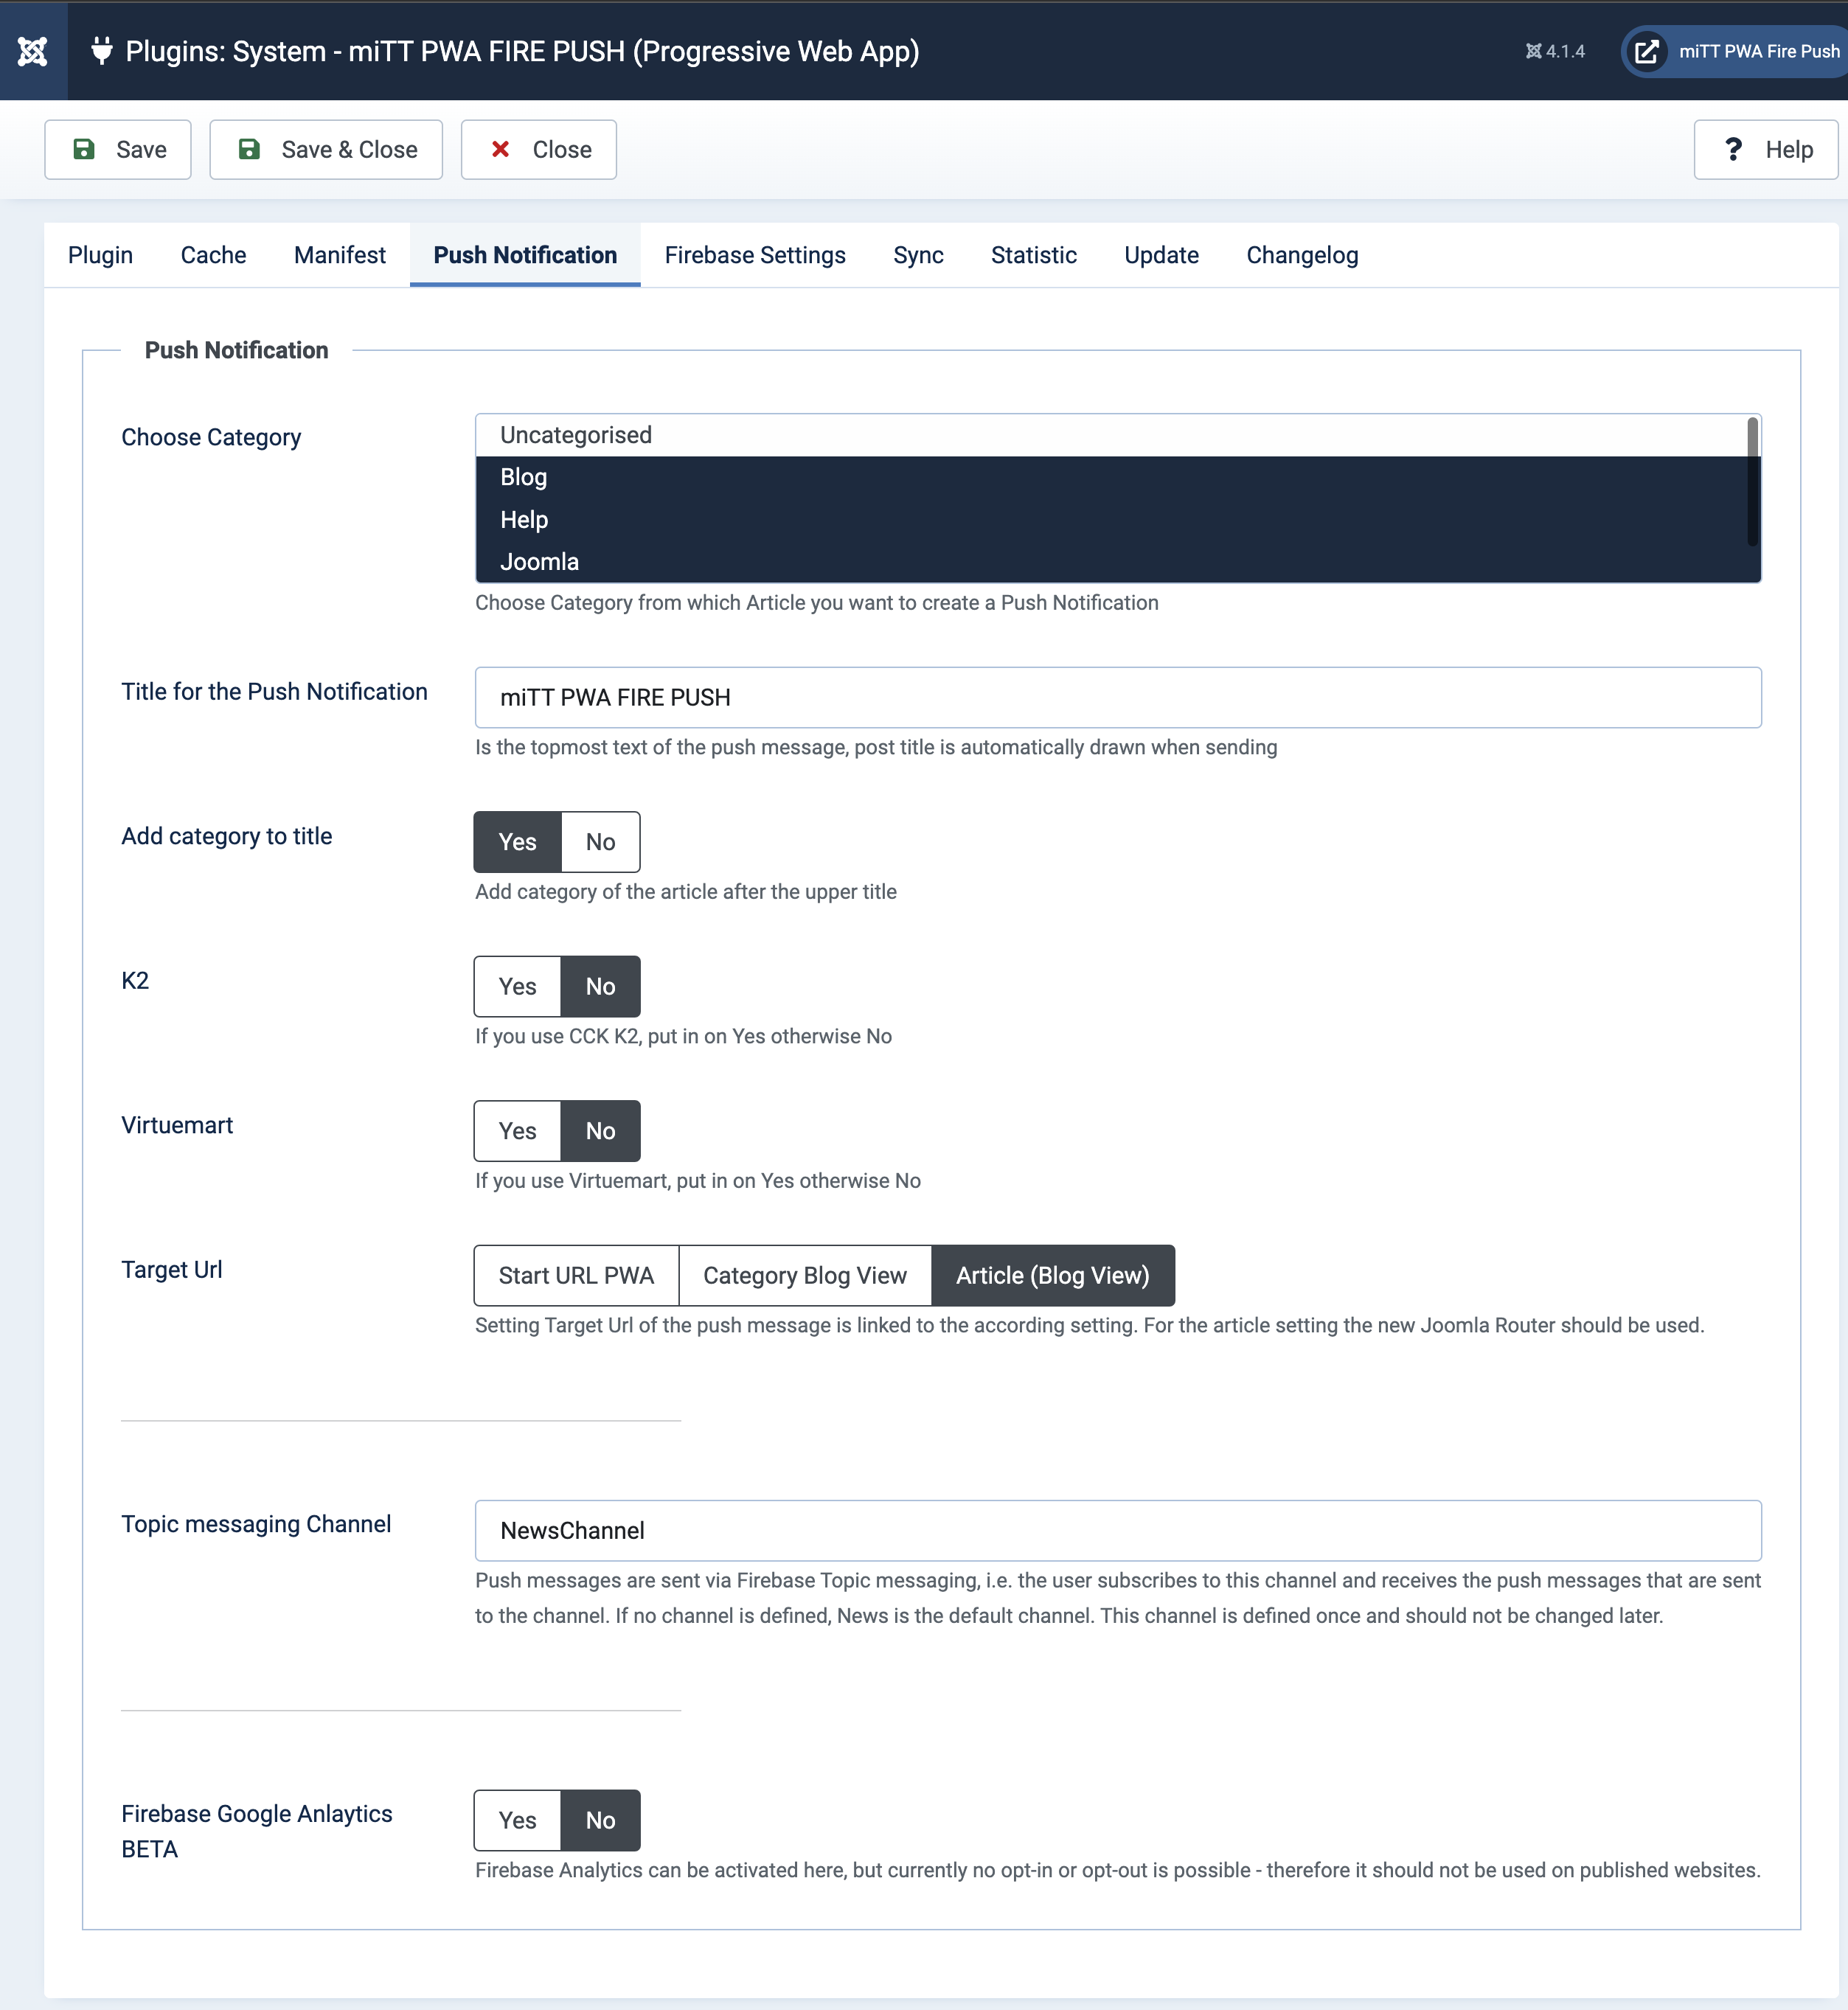
In the tab Push Notification, the settings of the push messages are made. In the first setting "Choose category" you can specify the categories of Joomla posts from which the push messages should be sent. Here you will find a Push Notification Button at the top of the Joomla Article.
In addition to the article, a title can be specified, which should appear in addition to the post. Furthermore, you can choose whether the category should also be displayed.
Supported Extensions
miTT PWA PUSH supports the sending of push messages via Joomla articles or FLEXIcontent. If you plan to send push messages via CCK K2, you can set the option to "Yes" and specify the category from which it should work.
The "Destination URL" determines which page should be opened when the user clicks on the push message. Here you can choose either the start URL of the PWA or the Joomla view or directly the article which was advertised with the push message.
Overwrite Notification URL
In some cases, you would like to change the template design of the landingpage after clicking the push message. For this purpose, the "Overwrite Push URL" option is available. Here you can specify the Menu-Alias like "my-alias". In the menu page backend you define you template. So you can use a different template for the push messages landingpage.

Topic Messaging Channel
One Topic Messaging Channel
The "New messaging Channel" determines the group that the subscribers are added to. This value should be set once and should not be changed again. Please do not use spaces and special characters for the Topic Channel Name.

Multiple Topic Messaging Channels
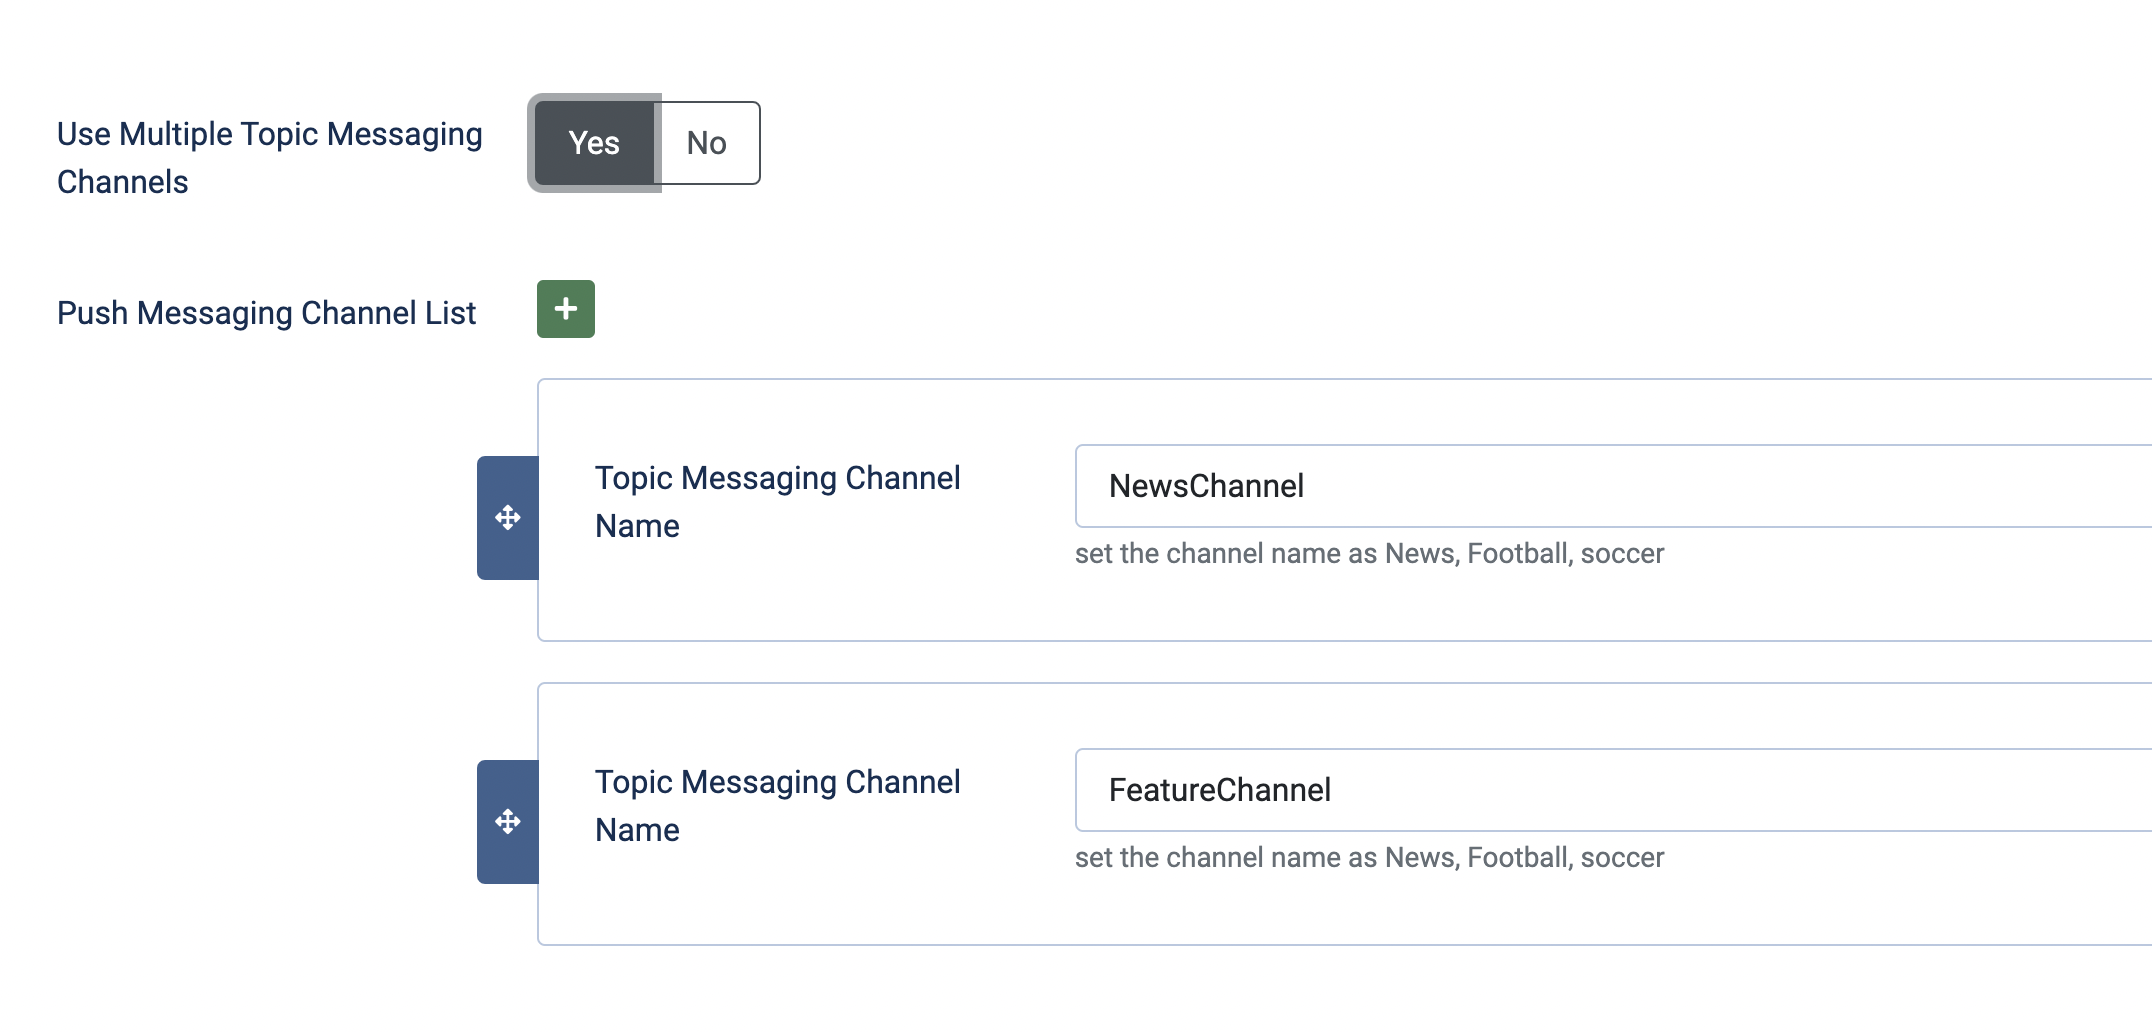
There is an option to set multiple messaging channels. Define your channels - if you use one channel before, move your given channel name to the new list. Please do not use spaces and special characters for the Topic Channel Name.
The article edit view in the Joomla backend shows the Push Notification Button at the top of the page. Also, the supported extensions show the button.
Subscribe / Unsubscribe Buttons
To enable the user to subscribe to push messages, it is necessary to provide the buttons. They can be added either via the template or module.
One Topic Messaging Channel
<button class=" mittpwapush__subscribe">Subscribe</button>
<button class=" mittpwapush__unsubscribe">Unsubscribe</button>
It is important that the class is used in the button "mittpwapush__subscribe" and "mittpwapush__unsubscribe". Whether a text or an icon is used is irrelevant.
Multiple Topic Messaging Channel
<button class=" btn btn-secondary mittpwapush__subscribe NewsChannel">Subscribe</button>
<button class=" btn btn-primary mittpwapush__unsubscribe NewsChannel">Unsusbsribe</button>

<button class=" btn btn-primary mittpwapush__unsubscribeFromAll NewsChannel">Unsusbsribe</button>
It is important here to set the Topic-Channel to the last position and the "mittpwapush__subscribe" or "mittpwapush__unsubscribe" CSS class before. The styles as "btn btn-primary" or something else you could set it before. The Topic Channel has to be the same name convention as in the settings of the plugin.
Firebase Google Analytics can be activated here, but cannot be deactivated by the user in order to comply with European data protection regulations.
Icons
The icons that are needed are used from the manifest. Please ensure you use the new icon implementation of the manifest. If you set an intro image in the article, this will be automatically retrieved, if you send a Push Message from the article.
App Badge Icon

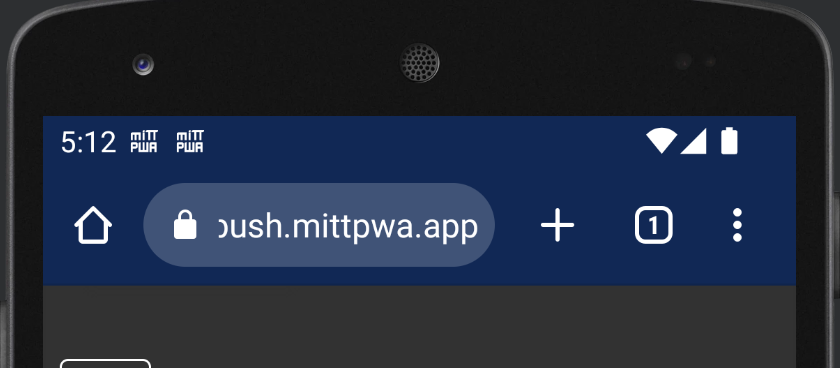
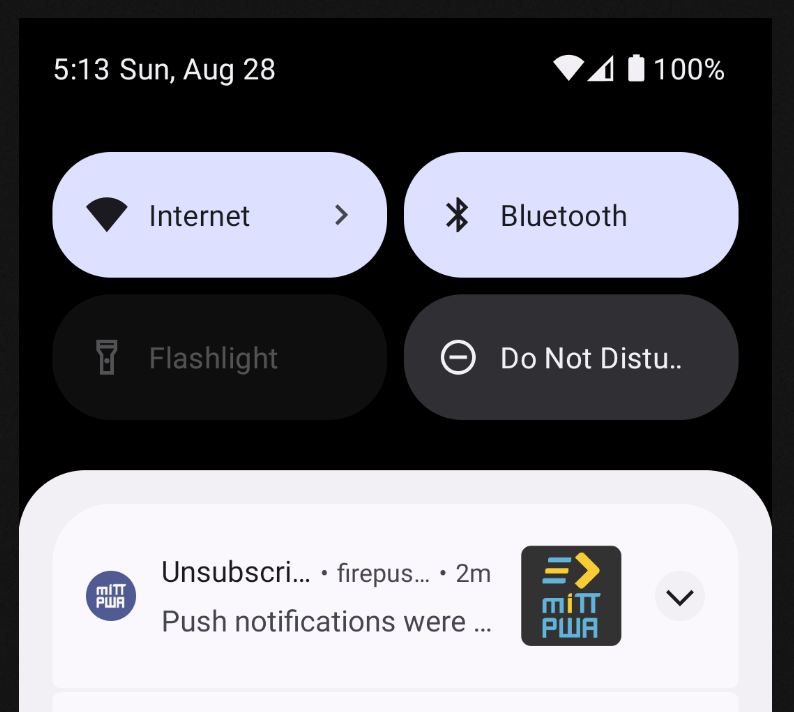
The App Badge Icon is a special icon. This icon should be a white coloured square icon on a transparent background. You find this icon at the top bar and in the notifications list on the left.
Firebase Settings
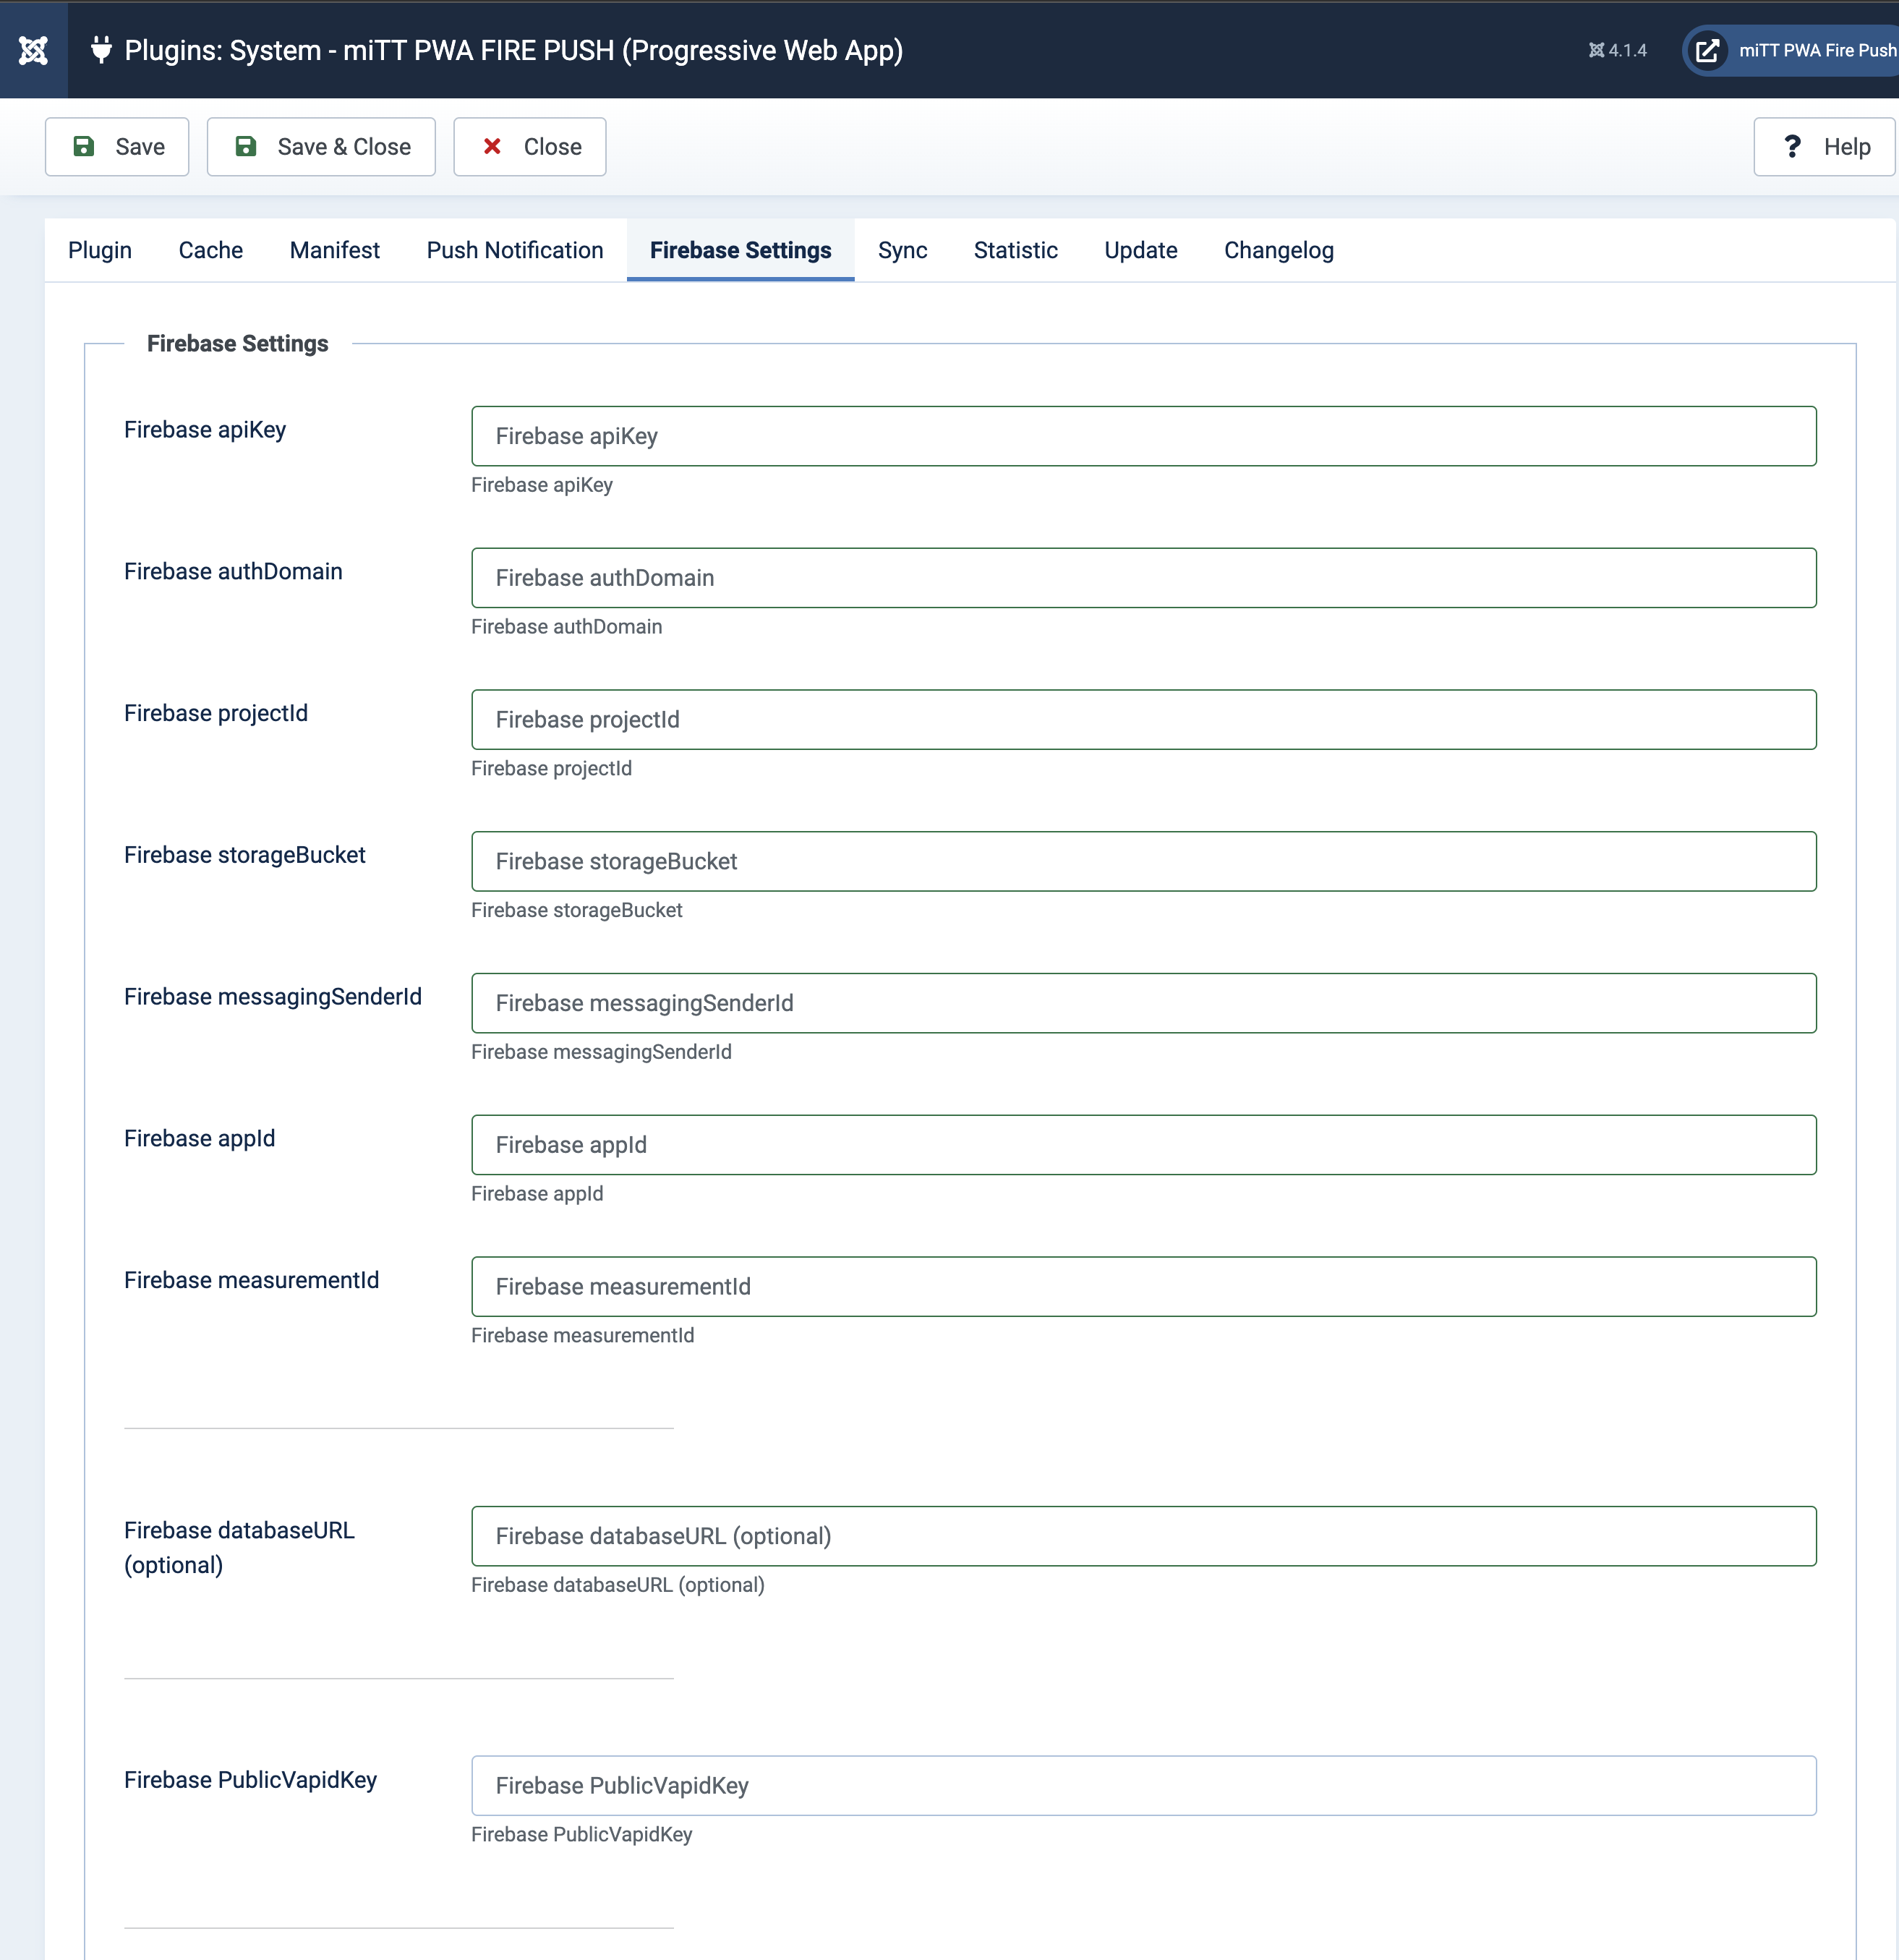
* only in version mitt PWA PUSH (Joomla Plugin)
Push messages are sent using Google Firebase Cloud Messaging (FCM). The prices for this can be found in the Pricing of Firebase under Cloud Messaging. At the moment the service is free of charge (Stand June 2020). To start using the service, you have to create a Firebase account.
In the Firebase Console you add a new project and assign a project name. In the second , you are asked if you want to activate Google Analytics for the project. To use it DSGVO compliant, the users should have the possibility to disable tracking. The plugin with PWA PUSH does not allow this yet.
After creating the project, add a Web App to the project. After assigning the name you will get an overview of the data, which you enter into the Joomla Plugin. Transfer the values between the quotation marks like apiKey, authDomain, databaseUrl, projectId, storageBucket, messagingSenderId, appId. The measuerementId is only necessary if Firebase Analytics (Google Analytics) is used.
Back to the project overview, you will find the tab Application at the top. In the settings of the application, you have to create the PublicVapidKey in the tab Cloud Messaging. Here you go to Generate key pair below to create it.
In addition to the PublicVapidKey, authentication via the Firebase Admin SDK is required. Here you switch to the tab Service Accounts and can generate a private key below.
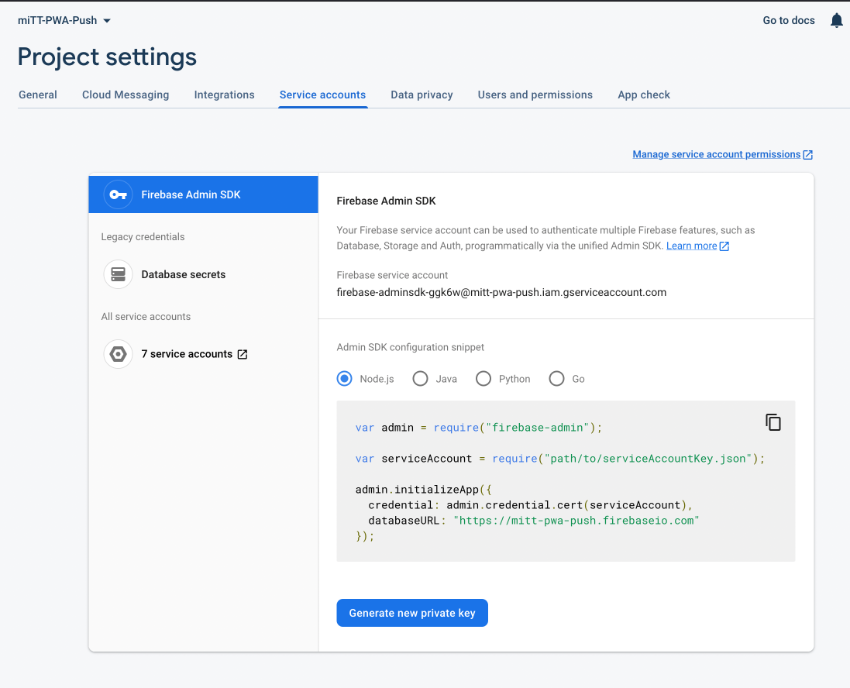
This key will be placed on the web server, a folder above the root directory (Standard). The name of the key (without path) is entered in the PWA plugin at the bottom. With Custom setting, a secure folder "firebase" is generated after saving, where the file can be stored. It is important to check that the file cannot be accessed via the browser. With a Nginx server, security must be self-ensured.
