miTT PWA Documentation for WordPress
The following instructions will provide a comprehensive guide to setting up the miTT PWA plugin for WordPress and which WordPress app that can be installed as a mobile or desktop app. Many users believe that a PWA is exclusively a mobile app. And you, as a user, could send push notifications from the WordPress Backend. This process involves several steps, including configuring the necessary settings, installing the required plugins and setting up the PWA manifest file. Following these instructions, you can create an engaging and user-friendly WordPress app that can be easily installed on any device. So, let's create an excellent WordPress app experience for your users and convert your WordPress website to an app. miTT PWA is one of the leading PWA in Joomla and brings the background to the WordPress PWA Plugins.
Table of content
- Installation WordPress miTT PWA
- PWA General Settings
- Service Worker and App Scope
- Caching Settings
- Manifest
- Manifest all things the app needed
- "App Shortcuts" are quick links to your favourite websites
- Theme, colours, and display mode of the app
- Protocol Handler - open the app via URL in Mail
- PWA App icons and Splash screens for iOS and Android apps
- App Screenshots for App preview
- iOS WordPress App Settings
- App Install Prompt
- Push Notifications
- Firebase Settings
- Additional
- Server
- Conclusion
Installation of the WordPress Plugin miTT PWA
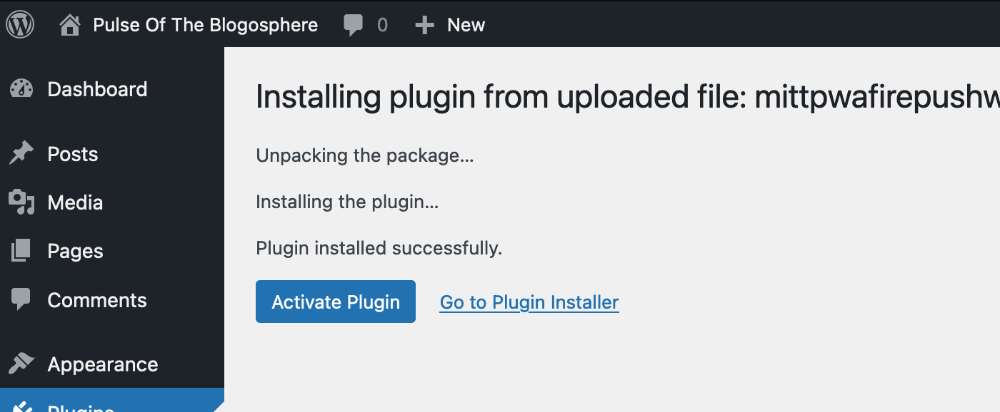
The installation process of the miTT PWA plugin is the same as for any other plugin. Upload the miTT PWA zip file and active miTT PWA.
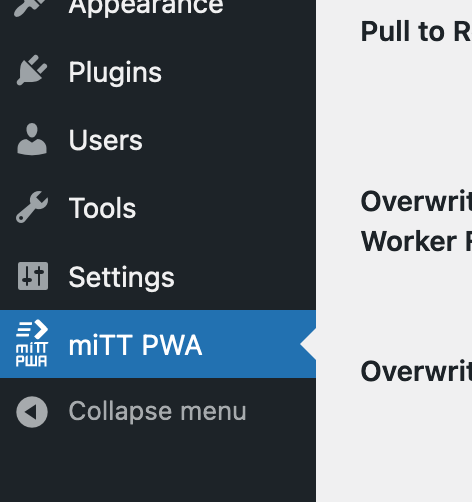
Once activated, you can locate the miTT PWA on the right menu bar.
Update the Service Worker
The Time Interval feature updates the Service Worker in the background. The service worker saves the static cache files using the Cache API. The service worker will delete the old files if a custom name becomes available and a new file version becomes available.
Pull To Refresh the WordPress App
As native apps know, a screen pull refreshes content and updates the saved cache.
Service Worker and App scope make any WordPress app possible
To hold the WordPress installation clean, the Service Worker will be located the Service Worker in the miTT PWA plugin folder. This needs settings to the Apache or NGINX server. Occasionally, you cannot access these settings to overwrite the service worker. In this case, the service worker will be saved in the root folder.
The app can be accessed at domain.com/app instead of domain.com. The PWA is located below the root folder "app".
Debug Mode and unregister Service Worker
The browser's debug mode displays console.log to identify errors. If you no longer require the app, you may unregister the Service Worker.
Network First or Cache First for app performance
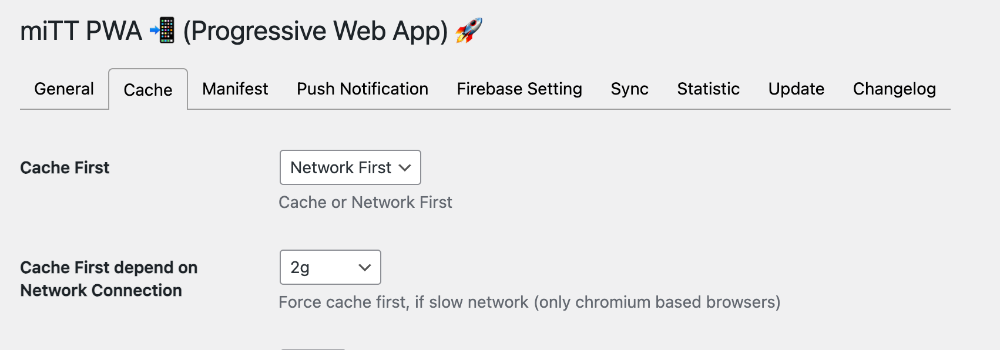
When selecting a cache strategy for your application, it's essential to consider two main options: Network First and Cache First. Network First loads all files from the server, while Cache First prioritizes the browser's cache and loads from the network if the requested files are not found there. If you choose Network First, you can specify the network quality for loading available files and data using the Cache API.
Advanced PWA Caching with Static Files

miTT PWA can handle static browsing of different pages. When the service worker is installed, all static files are saved in the browser Cache API, making the mobile app compatible with offline use. Offline content can be provided if saved in the browser's Cache API. Here is on request before it is necessary to exclude the start page. "Static Files" is a key feature of miTT PWA.
If you want to exclude certain pages from being cached, such as a login page, you can do so in the "Cache Exception" setting. You don't need to enter the entire URL in the input field. For example, if you enter "login", all URLs with the expression included will be excluded from the cache.
In some cases, excluding some files from the Service Worker fetch request could be necessary. This could be set up in the Fetch Exceptions field. The debug settings allow us to see precisely what happens in the fetch request.
The Caching part, such as Static files, Cache First, or Network First, is reliable for the app's performance.
Manifest, the definition of the app
We started from the App Namen to the Start Url. Choose the Start Url, which website will open, if the app starts.
The App ID should be unique; the app description lets the user know the key features you offer with the app.
"App Shortcuts" are quick links to your favorite websites
App Shortcuts can be accessed easily with a single click. Here, you can define names, descriptions, URLs, and icons. Please consider using an icon in PNG format with a size of 192 x 192 px.
Theme, colours, and display mode of the app
When choosing colours for your WordPress theme and brand identity, ensure they align and use the "standalone" display mode. Test the app thoroughly, as browser navigation is not supported.
Protocol Handler - open the app via URL in Mail
The protocol handler allows you to open the app via URL. For example, if you send a newsletter and refer to the app, you could define a URL that will open the app.
Your URL could look like this:
<a href="web+blog://2">Wordpress page</a>
The above example demonstrates how to define a page by its ID using "%s" as a placeholder.
PWA App icons and Splash screens for iOS and Android apps
You have to set up different app icons for the WordPress app plugin, and two icons are necessary for it.
- App icon named manifest-icon-512.png
- Maskable app icon named manifest-icon-512.maskable.png
- SVG Icon (optional) namedmanifest-icon.svg
- Apple Icon (optional) calledapple-icon-180.png
Please follow the naming conventions mentioned above when creating the icons. You can create the icons using any app you prefer or use the PWA Asset Generator . , which provides all icons and iOS Splash Screenimages in a single step. Upload your icon, and the generator will create a zip file with all the necessary icons and splash screens for your PWA.
If you need help creating all Icons and Splash Screens, send me an email with your desired Icons included, and I will help you.
To get the best result for the Maskable Icon, it's recommended to use the Maskable-App-Editor. While an SVG icon is not necessary, it can improve compatibility. Don't forget to upload your icon via FTP.
To upload your icon via FTP, upload it via the plugin's assets/icons/ folder.
The splash screen for Android is built from the background colour of the manifest. The iOS Splash screen will be made from the generated Screen over the PWA Asset Generator.
App Screenshots for App preview
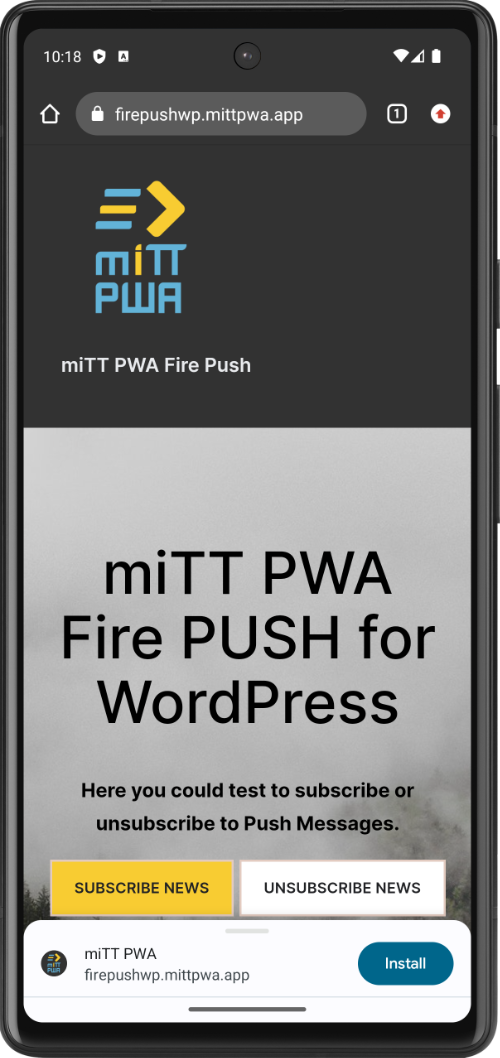
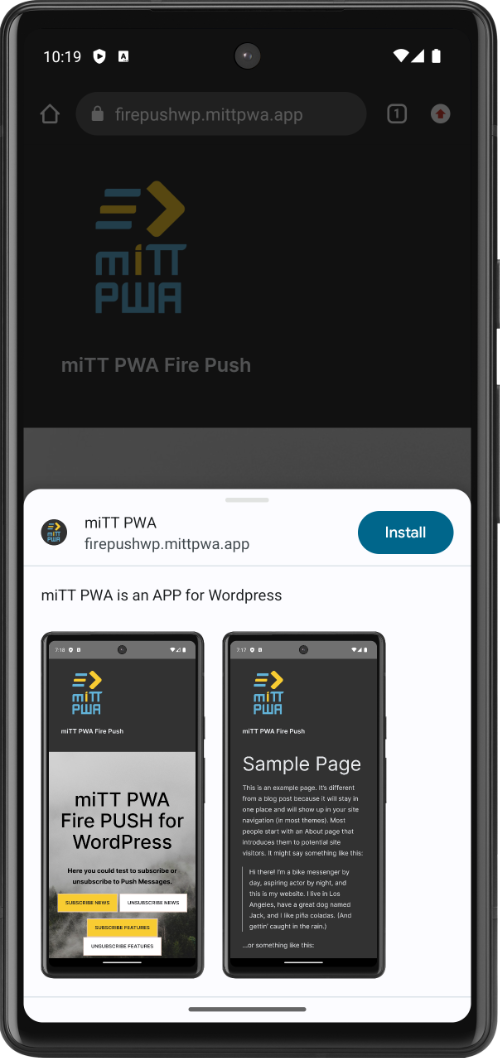
For a better installation experience, use the app screenshot feature to preview your app before installing. Also, the Android device shows install prompt displays with an "Install" button. After installation, the WordPress website transforms into an Android app.
iOS WordPress App Settings

Various options are available to display the iOS Install banner or the iOS Status bar. This banner helps the user understand how to install the app. Additionally, you can link your custom website ("custom page") to provide detailed instructions on installing the iOS app on iOS devices.
App Installation Prompt

There are different possibilities to install the Android app or desktop app. The standard on Android devices is the installation prompt. If you want an additional button to install the Android app, then there is a possibility of preventing the install prompt from being set up. So this allows you to install mobile apps and desktop apps easily.
Push notifications with the WordPress website
With miTT PWA for WordPress, you can send push notifications directly from the WordPress dashboard, including from blog posts and pages. You could set the push notification title at the push notification tab of the WordPress plugin. You could set up different push messaging channels, like news or events. The technique behind this is the Firebase topic.
Creation of Push notification subscribe buttons
The user needs to subscribe to a push messaging channel so that he can receive the push notifications. To do this, create a button in your WordPress theme, widget, or article which has the following structure:
<button class=" btn btn-secondary mittpwapush__subscribe NewsChannel">Subscribe</button>
<button class=" btn btn-primary mittpwapush__unsubscribe NewsChannel">Unsusbsribe</button>

<button class=" btn btn-primary mittpwapush__unsubscribeFromAll NewsChannel">Unsusbsribe</button>
The last example above demonstrates this if you provide an "Unsubscribe" button for all push notification channels.
Mobile app badge icon
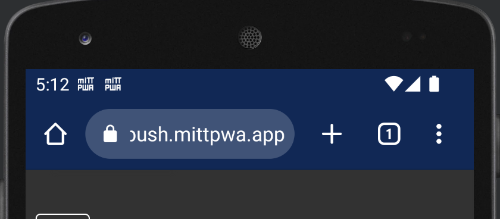
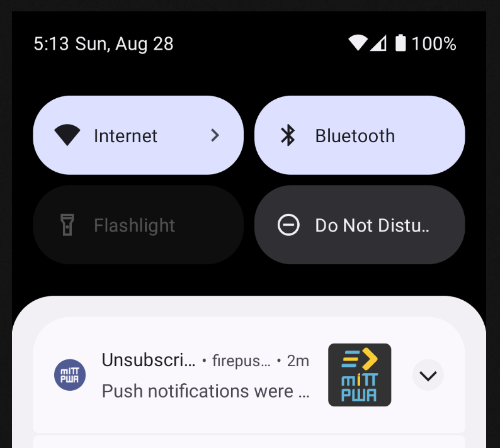
This white square icon with a transparent background appears on the top bar of your Android device and in the push notifications list.
Firebase Setting for the WordPress App
The notification service works with Firebase Cloud Messaging. The price list
The notification service works with Firebase Cloud Messaging. The price list shows "no cost" for unlimited push notifications. The service worker registration and Firebase Messaging are linked, so you must set up Firebase settings, even if you don't need them initially.
To start, you must register at Firebase and create a new web project with the project name. After the project creation, you get mostly all the Firebase setting data. The Firebase Measurement ID is joined with Google Analytics if you choose it during the project creation.
Firebase Vapid Key
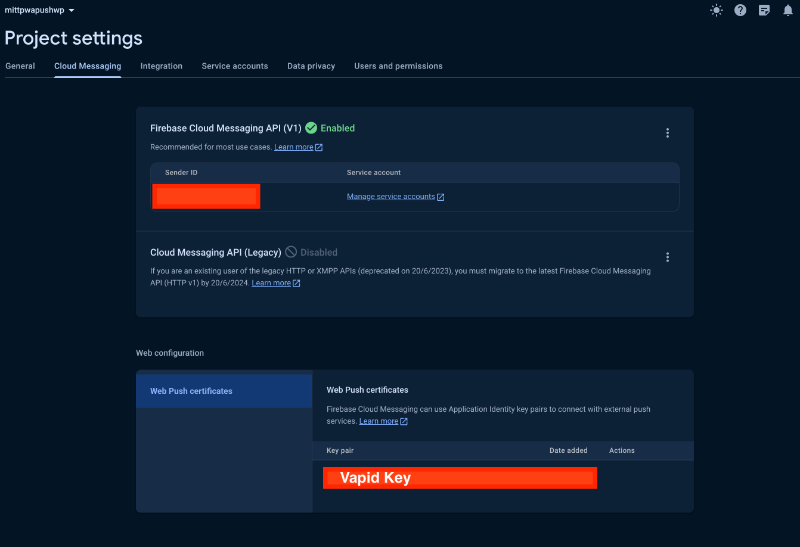
The Vapid Key for Firebase cloud messaging could be generated over the Firebase Console by clicking Generate Key Pair in the Cloud Messaging Tab. Create a new Web Push Certificate and copy the code to the WordPress plugin Firebase Vapid Key Setting.
Firebase Service Account File
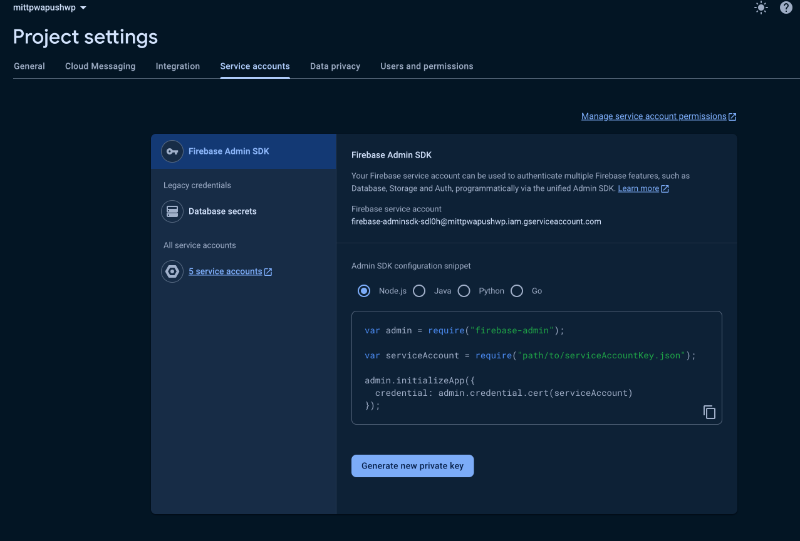
To send push notifications from the backend, you require a Service Account file. You can generate this file through the Firebase console by going to your project's "Service accounts" tab and selecting "Generate new private key". This will create a JSON file to place above your root folder. These are the recommended settings.
If the root folder is inaccessible, select "Custom" in the miTT PWA Plugin settings, save your changes, and place the file in the plugins folder mittpwawp/firebase. In the case of an Apache server, there is a .htaccess file that can be used to protect the folder. For NGINX servers, please ensure that you protect the folder yourself.

Sync your content with the app users
If the registration process for the service is successful, your WordPress website will be converted into an app or a Progressive Web App (PWA). Once this is done, a background sync will be available for pages and images. This means that the content will be updated in the background of the app user's device, even if the website or installed PWA is not opened.
Statistic counts the app installations
This graph shows the number of installations on Android and Add to Homescreen on iOS.
WordPress Plugin Updates
To see and update miTT PWA, you must grab the update key from the miTT PWA Plugin site and put it in the update key field.
The server of the PWA
To hold the WordPress root folder clean, the Service Worker will be placed in the miTT PWA Plugins folder. This could be overwritten by setting up the following configuration.

The following Server settings are necessary if there any problems with the Service Worker and recommended general settings.
Apache Server
If you use an Apache server, the following lines should be added to the .htaccess file during installation to prevent scope errors. If you have the scope, please check whether the lines already exist.
  <Files "(serviceworker\.js|OneSignalSDKUpdaterWorker\.js|OneSignalSDKWorker\.js)">
      Header Set Service-Worker-allowed "/"
 </Files>
NGNIX Server
If your website uses an NGINX server, add the following to the NGINX configuration. The same applies to Plesk Configuration if you use Nginx as a proxy.
  location ~* /(serviceworker\.js|OneSignalSDKUpdaterWorker\.js|OneSignalSDKWorker\.js) {
        add_header 'Service-Worker-Allowed' '/';
 }
In Plesk, you can find the option to add custom Apache and Nginx directives under "Hosting & DNS" and "Apache and Nginx settings". The field to add the directives is at the bottom of the page.
LiteSpeed Server
LiteSpeed sets the necessary header for the Service Worker as follows:
service-worker-allowed: /
If you use Cloudflare, you must clear the cache when you change this type of setting.
Conclusion of the WordPress to App Conversion
To turn your WordPress website with WordPress PWA into an app, is miTT PWA for WordPress a low-cost and easy alternatives instead of traditional app development as other WordPress plugins. If need any help to set up the WordPress PWA, feel free to email me.
Please inquire if you require assistance publishing your app on the Apple App Store or Google Play Store. The Stores could be a additional Marketing Channel for all Smartphone Users. PWA Builder and Bubblewrap are valuable tools for this purpose.